
How to Transfer Photos from iPhone to Computer with easy step
These days we never miss out on each and every moment of our lives by capturing it on your phones. Maybe it is the party that you went to last night or the awesome trek that you plan to go to with your friends on that long weekend. You never stop capturing our lives these days and sometimes we don’t even need an occasion to capture ourselves or our loved ones. With so many moments being captured, you are bound to end up a gallery full of pictures, videos or what not, for which your phone might or might not have the space. In addition to that, we also end up saving pictures from WhatsApp, screenshots, and pictures from emails and the application Safari. All of these, eat up a major chunk of space in your iPhone, leaving less and less space for newer memories.
The solution is not to stop clicking pictures from your iPhone, but to get creative and clever about the way you store those pictures and make space for new moments and memories.
iPhone, as we all know, is as good of a camera as a phone can have, with its high picture quality and multitudes of features that it offers to all its users. All the versions of iPhone, may it be the built-in iSight camera or iPhone 8’s 12 MP camera, are all built to make people fall in love with photography. Other features of iPhone 8 Plus and iPhone X’s portrait mode are also amazing added features which produce high-quality pictures of your loved ones.
When it comes to transferring the pictures from an iPhone to your computer you have to remember that there are numerous ways and methods you can pick to do so. There are numerous tutorials to tell you how you can transfer the file from iPhone to a third party software like Windows AutoPlay, Windows Explorer or Windows Photos and more. But the ultimate decision of selecting the best method lies in your hands, as it depends upon your convenience and comfort. Also have a look at GBWhatsApp APK, which you can use on your phone. Here we mention the three ways easy and effective ways we can transfer files from iPhone to the computer, so you can make more space for your memories in your iPhone.
The first method will enable you to transfer all the media files from your iPhone to your computer using other applications. This is an easy, free and quick way for you make space in your iPhone, by a few clicks.
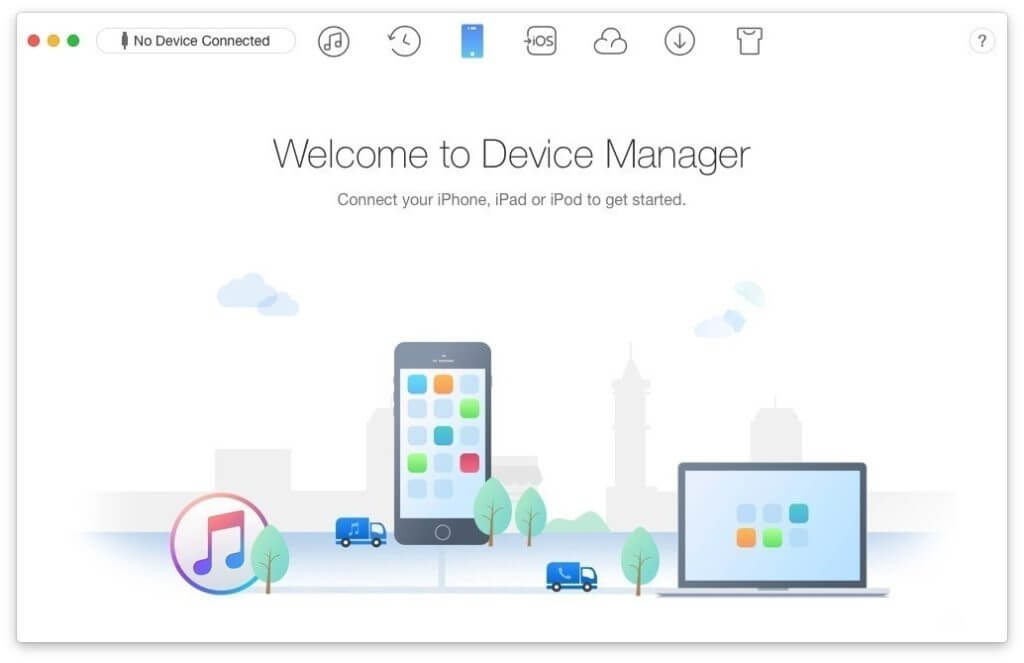
Step 1: The first step is to download, install and run the application ‘Free download AnyTrans for iOS’ on your windows – Download AnyTrans
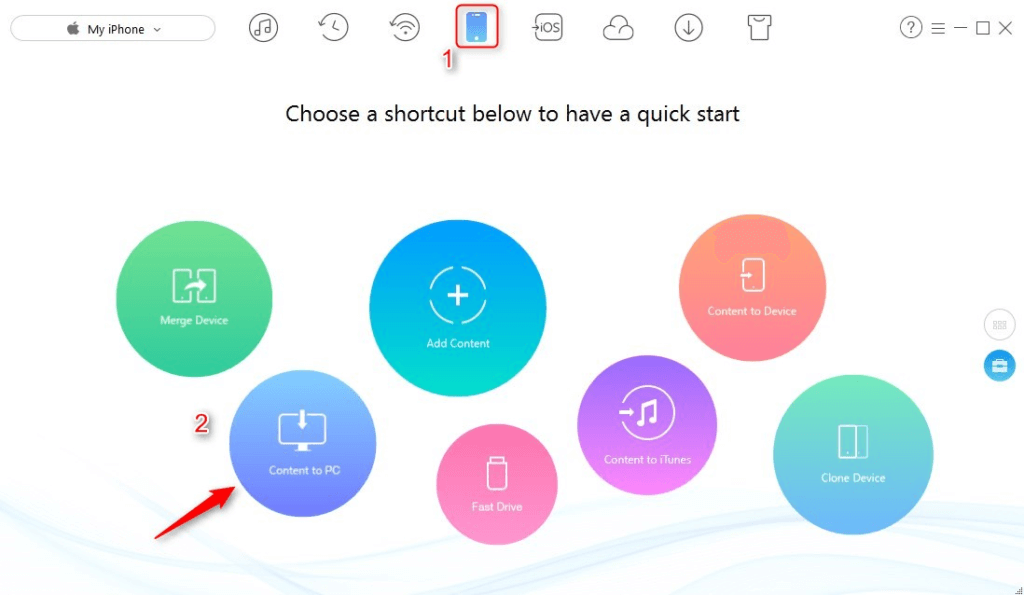
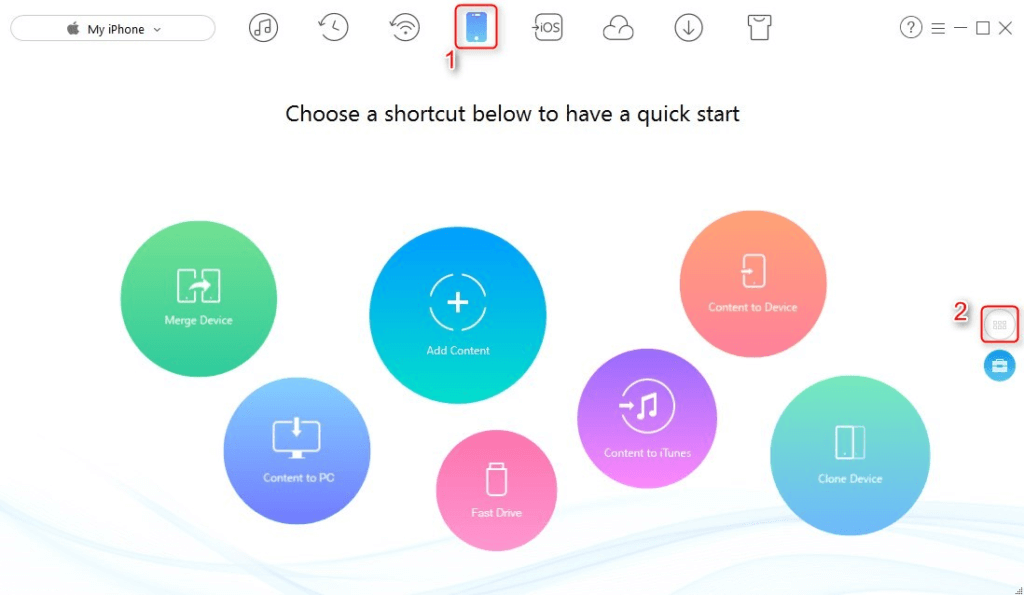
Step 2: After installing, launch the application on your computer and in the meantime connect your iPhone to the computer with a USB. Once, the application starts working, click on the tab ‘Devices’ and then click on ‘Content to PC’, which is a button you will find on the Homepage of the application.
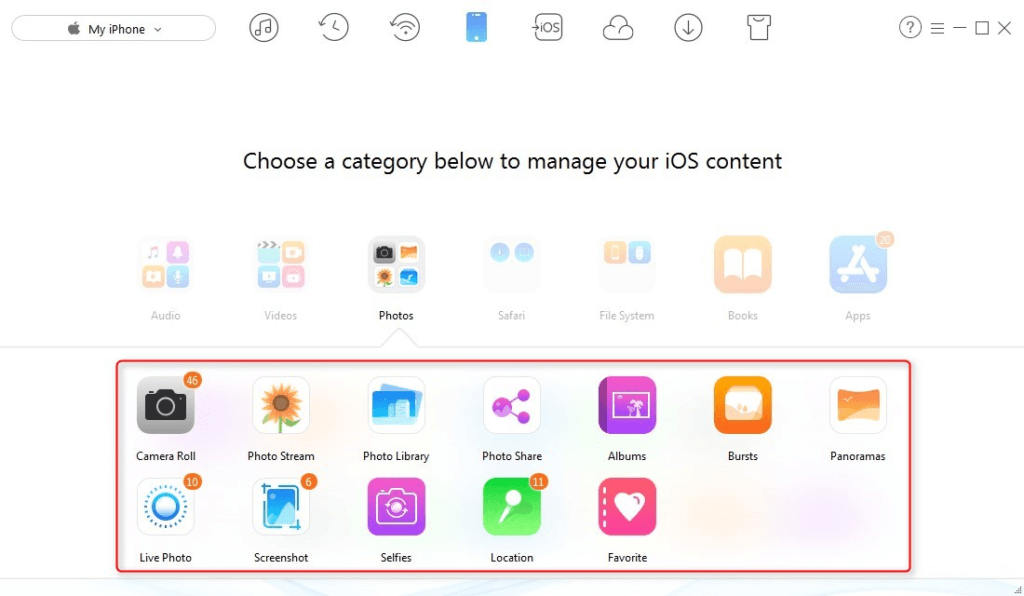
Step 3: The third step is selecting the categories of photos you wish to transfer to your computer. The various options you will see will include Photo Stream, Camera Roll, Photo Library, Photo Video, Live Photo and Screenshot (and some more).
Step 4: Once you know which file you want to transfer the date from, click on the select button and then the right arrow button. After this, the transfer of the file from the folder you have selected to your computer would start.

Step 5: The last step is checking whether you have received the files that you desired to. All the photos that you transferred can be found in the ‘right’ folder of your computer, where they should be organized into Camera Roll, Live Photos, Screenshots and more.
The second method we will discuss is adequate for you if you wish to transfer not the whole file but rather a selected few photos from your iPhone to your computer. Here is how to do it.
Step 1: Same as the last step, download, install and run ‘Free download AnyTrans for iOS’ – Download for Mac
Step 2: After running the application on your phone, connect your phone to your computer using a USB cord. Same as before click on the tab ‘Device’ and then click on the white button on the right side of the Homepage with six dots.
Step 3: Click on Photos. Now you have to select the one photo or selected multiple photos you wish to transfer from your iPhone to your computer. The options available will be the same including, Camera Roll, Live Photo, Screenshots, Location and many more.
Step 4: After selecting the photo or photos you wish to transfer to your computer, click on the ‘To Computer’ button and transfer the selected files from your iPhone to the computer.
Step 5: The last step to check whether you have received all the photos desired from your iPhone to your computer.

The third method has certain restrictions that you have to keep in mind. Transfer of the photos from iPhone to Windows 7 or 8 through AutoPlay can only take place for the folder Camera Roll. Photo Library and Photo Stream are still not on the supported list. Another thing to keep in mind is that they are transferred in an unorganized manner.
Step 1: Connect your iPhone to your computer. When the AutoPlay window pops up you need to click on the “Import Pictures and Videos using Windows”.
The solution is not to stop clicking pictures from your iPhone, but to get creative and clever about the way you store those pictures and make space for new moments and memories.
iPhone, as we all know, is as good of a camera as a phone can have, with its high picture quality and multitudes of features that it offers to all its users. All the versions of iPhone, may it be the built-in iSight camera or iPhone 8’s 12 MP camera, are all built to make people fall in love with photography. Other features of iPhone 8 Plus and iPhone X’s portrait mode are also amazing added features which produce high-quality pictures of your loved ones.
When it comes to transferring the pictures from an iPhone to your computer you have to remember that there are numerous ways and methods you can pick to do so. There are numerous tutorials to tell you how you can transfer the file from iPhone to a third party software like Windows AutoPlay, Windows Explorer or Windows Photos and more. But the ultimate decision of selecting the best method lies in your hands, as it depends upon your convenience and comfort. Also have a look at GBWhatsApp APK, which you can use on your phone. Here we mention the three ways easy and effective ways we can transfer files from iPhone to the computer, so you can make more space for your memories in your iPhone.
Method 1 – Transferring all the media files from iPhone to your Computer (Windows 7, 8, 10)
The first method will enable you to transfer all the media files from your iPhone to your computer using other applications. This is an easy, free and quick way for you make space in your iPhone, by a few clicks.
Step 1: The first step is to download, install and run the application ‘Free download AnyTrans for iOS’ on your windows – Download AnyTrans
Step 2: After installing, launch the application on your computer and in the meantime connect your iPhone to the computer with a USB. Once, the application starts working, click on the tab ‘Devices’ and then click on ‘Content to PC’, which is a button you will find on the Homepage of the application.
Step 3: The third step is selecting the categories of photos you wish to transfer to your computer. The various options you will see will include Photo Stream, Camera Roll, Photo Library, Photo Video, Live Photo and Screenshot (and some more).
Step 4: Once you know which file you want to transfer the date from, click on the select button and then the right arrow button. After this, the transfer of the file from the folder you have selected to your computer would start.
Step 5: The last step is checking whether you have received the files that you desired to. All the photos that you transferred can be found in the ‘right’ folder of your computer, where they should be organized into Camera Roll, Live Photos, Screenshots and more.
Method 2 – Transferring selected files or photos from the iPhone to the computer (Mac)
The second method we will discuss is adequate for you if you wish to transfer not the whole file but rather a selected few photos from your iPhone to your computer. Here is how to do it.
Step 1: Same as the last step, download, install and run ‘Free download AnyTrans for iOS’ – Download for Mac
Step 2: After running the application on your phone, connect your phone to your computer using a USB cord. Same as before click on the tab ‘Device’ and then click on the white button on the right side of the Homepage with six dots.
Step 3: Click on Photos. Now you have to select the one photo or selected multiple photos you wish to transfer from your iPhone to your computer. The options available will be the same including, Camera Roll, Live Photo, Screenshots, Location and many more.
Step 4: After selecting the photo or photos you wish to transfer to your computer, click on the ‘To Computer’ button and transfer the selected files from your iPhone to the computer.
Step 5: The last step to check whether you have received all the photos desired from your iPhone to your computer.
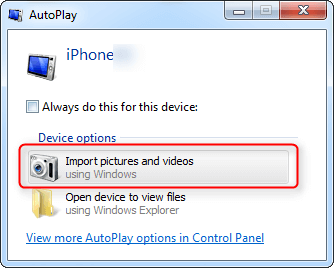
Method 3 – Transferring photos from iPhone to Windows 7 using the AutoPlay
The third method has certain restrictions that you have to keep in mind. Transfer of the photos from iPhone to Windows 7 or 8 through AutoPlay can only take place for the folder Camera Roll. Photo Library and Photo Stream are still not on the supported list. Another thing to keep in mind is that they are transferred in an unorganized manner.
Step 1: Connect your iPhone to your computer. When the AutoPlay window pops up you need to click on the “Import Pictures and Videos using Windows”.
